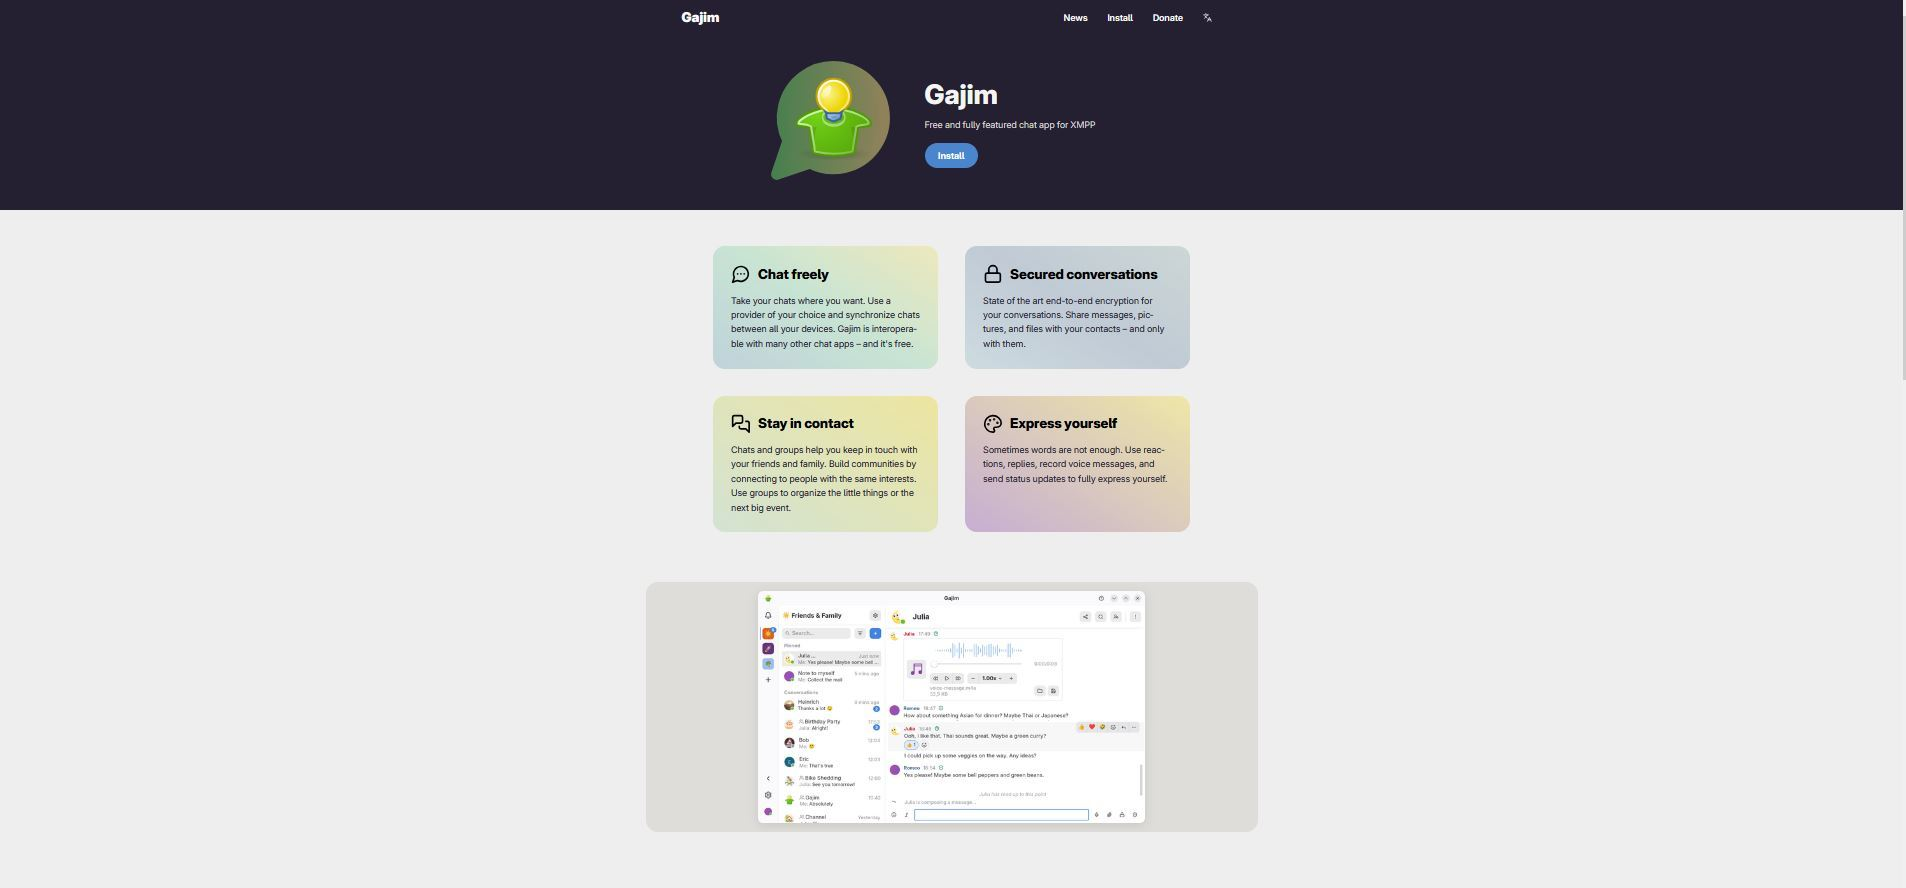
You want to try XMPP and you picked Gajim. Good choice. It’s a fully-featured client that works on Linux, Windows, and macOS, and it’s been around long enough to have everything polished. No command line needed.
If you’re on Windows, this guide still works for you. Everything from Step 3 onward is identical. The only difference is how you get the app: on Windows you download the installer from gajim.org instead of using the Software Center.
Step 1 — Open your Software Center
Open the Software Center (also called Software Manager depending on your distro) and search for gajim.
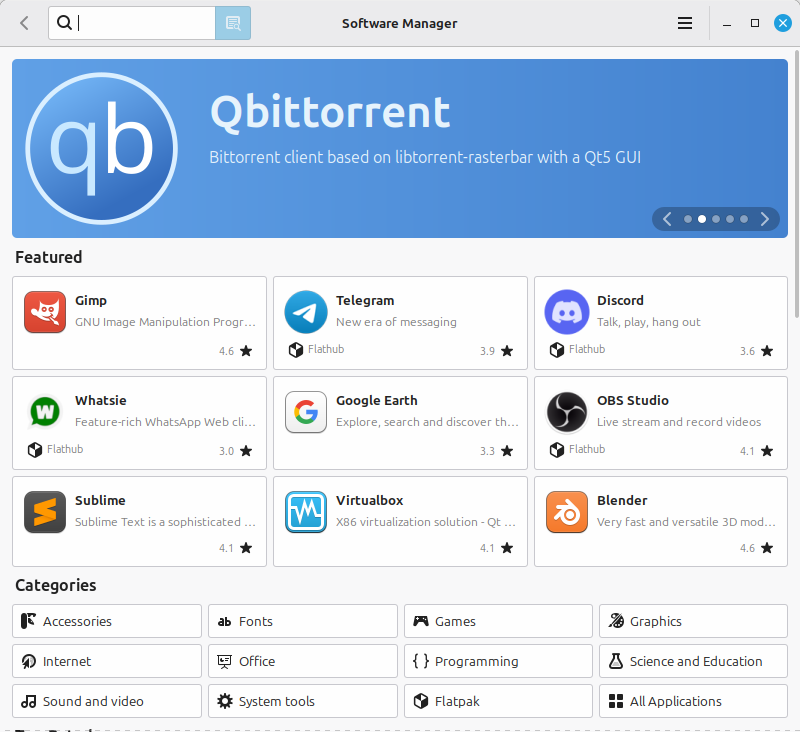
The Software Manager on Linux Mint. Other distros look a bit different but work the same way.
Step 2 — Install and launch it
Click on Gajim to open its page, then hit Install. Once it finishes, click Launch.
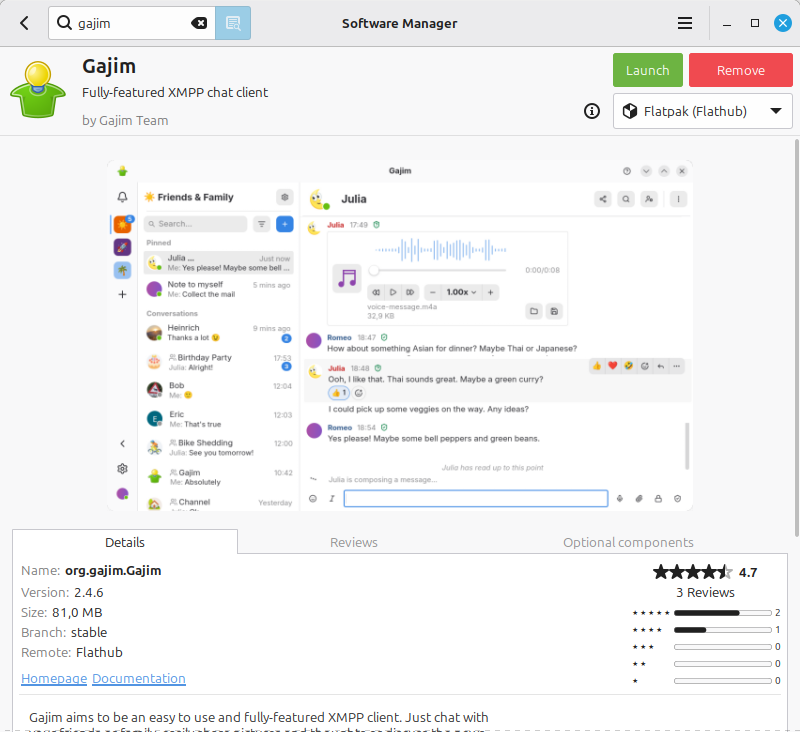
The Flathub version is usually more up to date than what ships with your distro.
Step 3 — Welcome screen
The first time Gajim opens, it shows an Add Account window. If you already have an XMPP account, type your address and password and click Log In, then skip ahead to Step 11. If not, click Sign Up to create one.
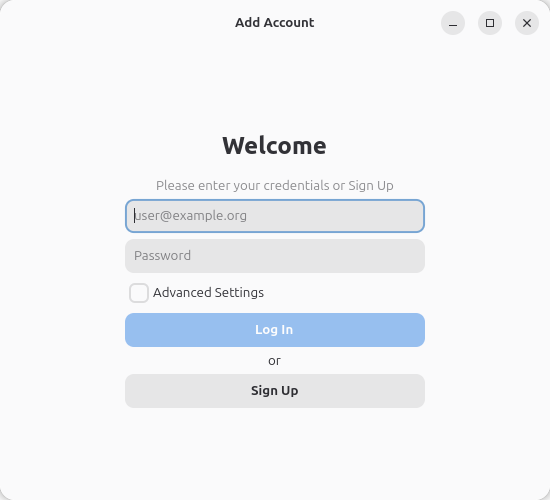
Existing account goes left, new account goes right.
Part A — Creating a new account
Step 4 — Choose a server
A Sign Up screen appears with a dropdown list of servers. Click the dropdown and choose chatrix.one, or type it in manually. Chatrix.one is a free Bulgarian server with no ads and end-to-end encryption. Click Sign Up when ready.
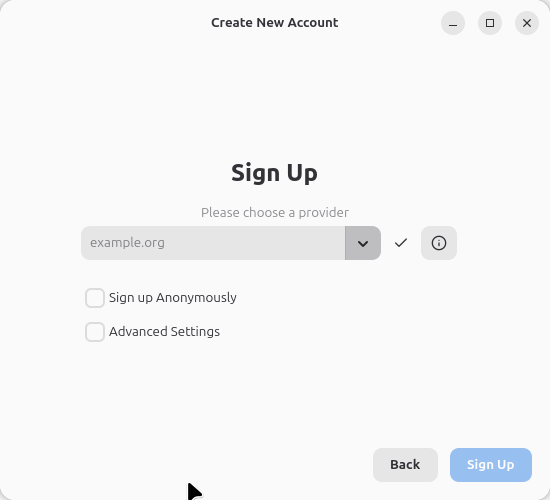
You can pick any public server you like. chatrix.one is a solid free option.
Step 5 — Open the registration website
Gajim tells you that Chatrix.one requires registration through its website. Click Visit Website and your browser will open.
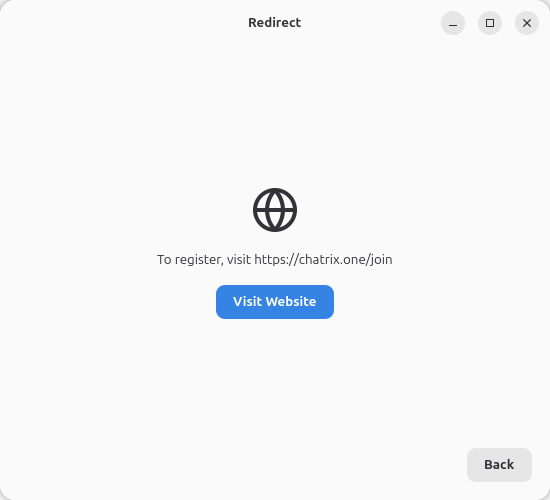
Some servers register directly in Gajim. Others, like this one, use a webpage.
Step 6 — Select Gajim as your client
The Chatrix.one page shows a couple of app options. Click Select under Gajim.
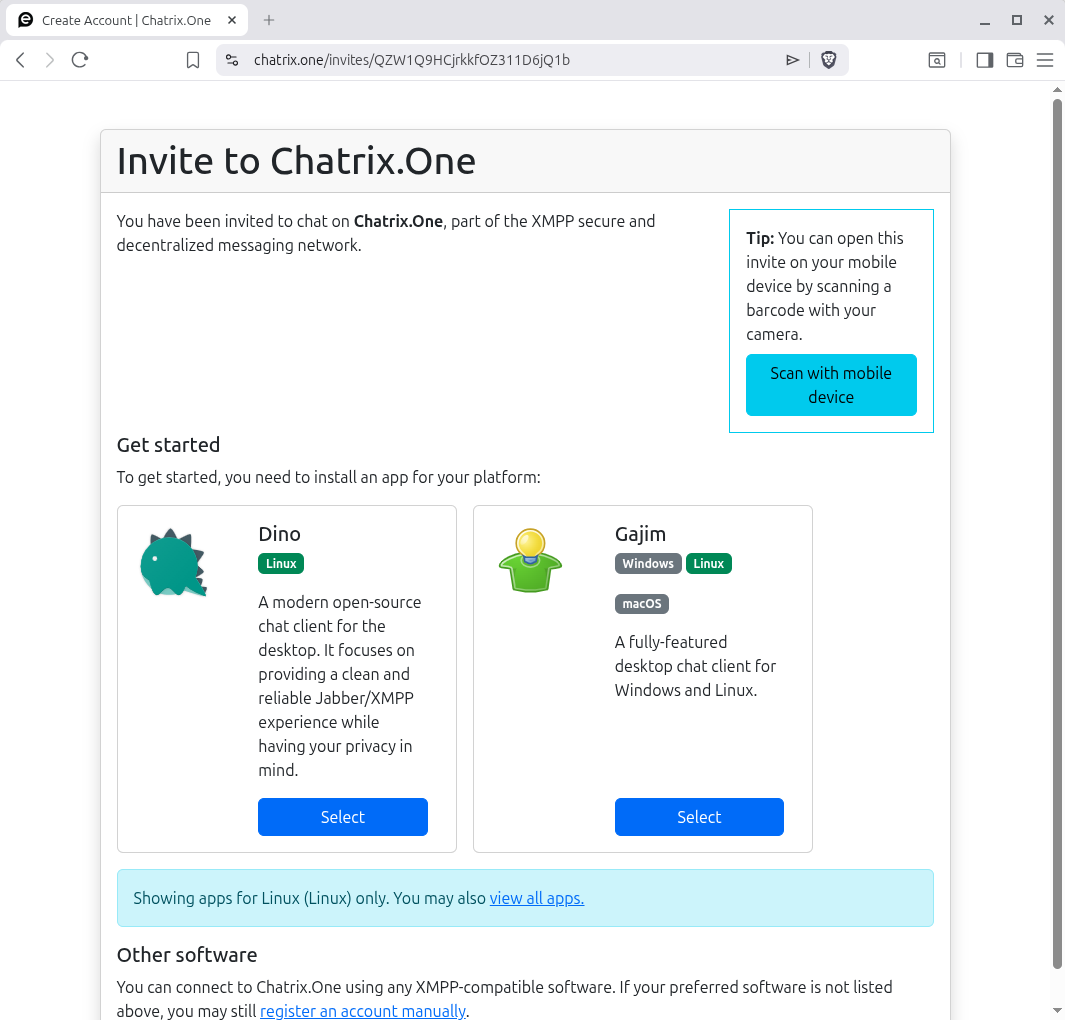
Since you’re using Gajim, click Select under it.
Step 7 — Prove you’re human
The website asks you to complete a quick hCaptcha challenge. Read through the short terms of service, tick the box, and click Continue.
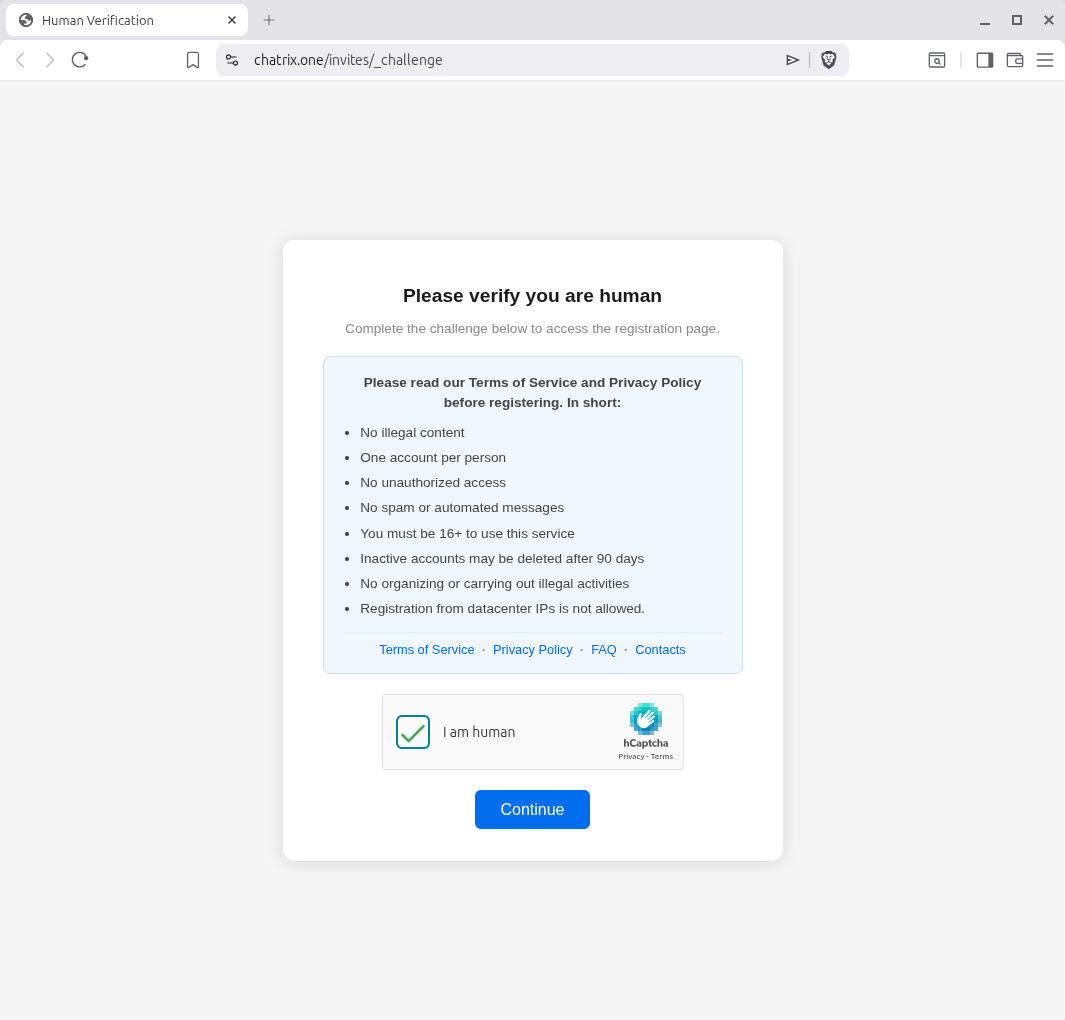
Tick the box and carry on.
Step 8 — Pick a username and a strong password
Fill in the registration form. Your username becomes the first part of your XMPP address, so yourname@chatrix.one. Use a password you don’t use anywhere else, then click Submit.
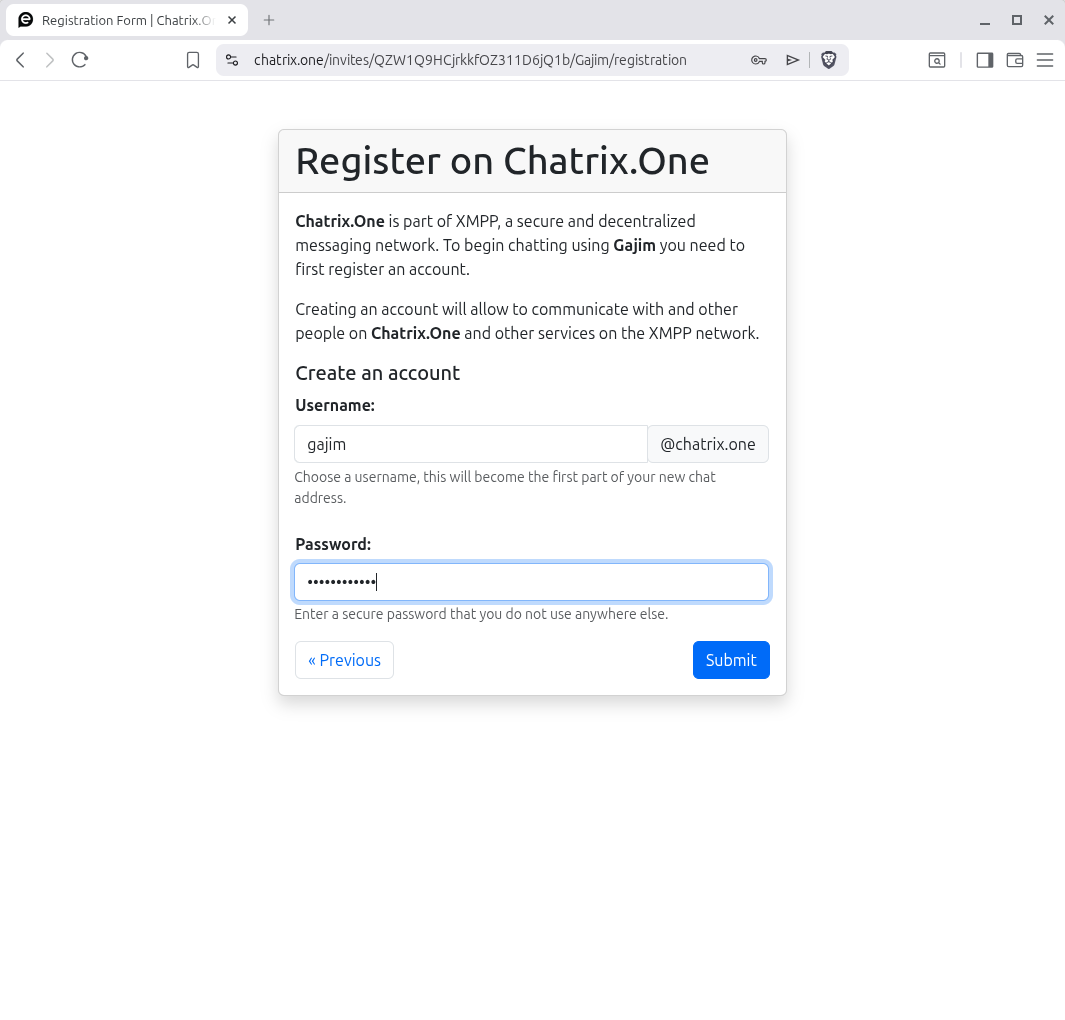
Your full XMPP address will be username@chatrix.one. Write down your password somewhere safe.
Step 9 — Registration success
If everything went fine, you’ll see a congratulations page with your new address and a reminder that your password is only shown here once. Keep it safe.
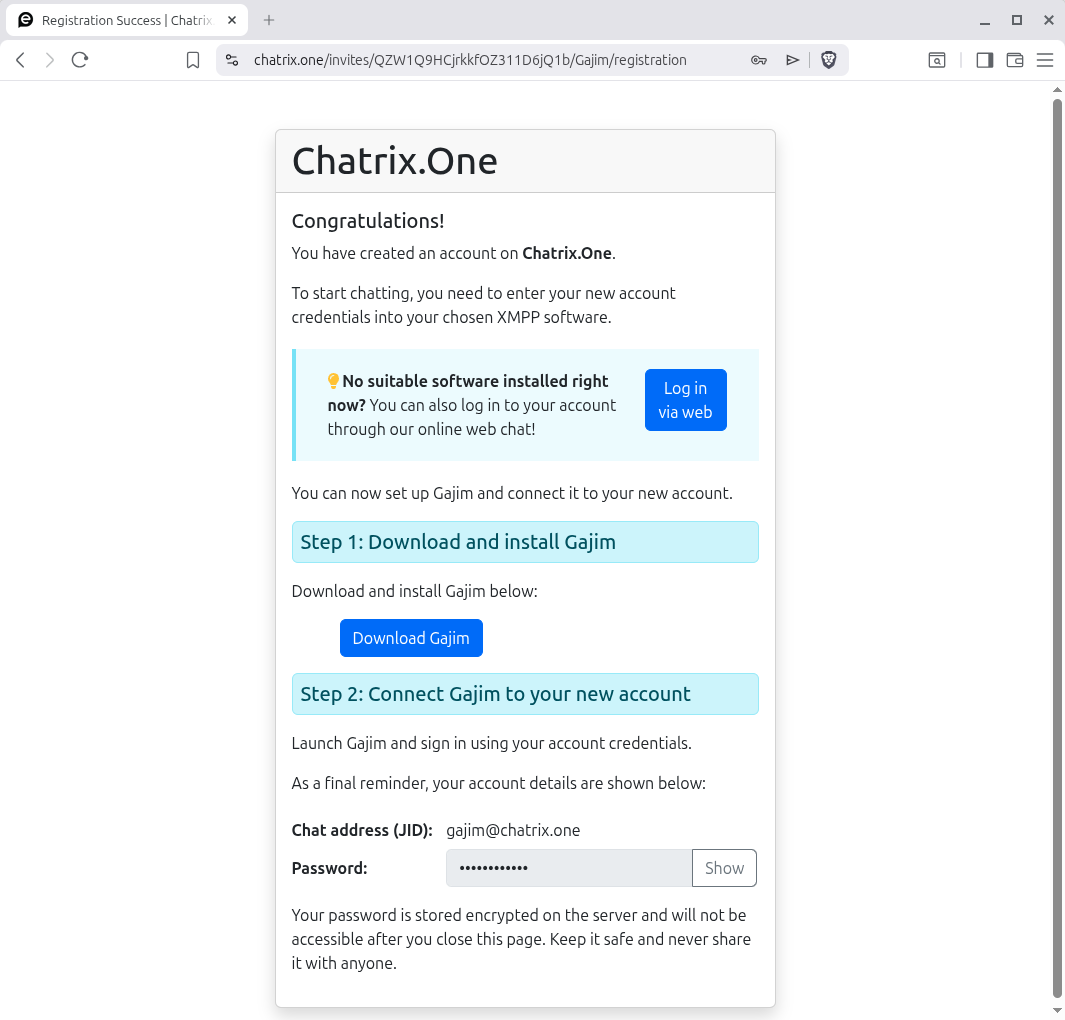
Account created. Note down the JID and password before closing this tab.
Step 10 — Close the browser and go back to Gajim
Close the browser tab and switch back to Gajim. Click Back in the Redirect window to return to the Add Account screen.
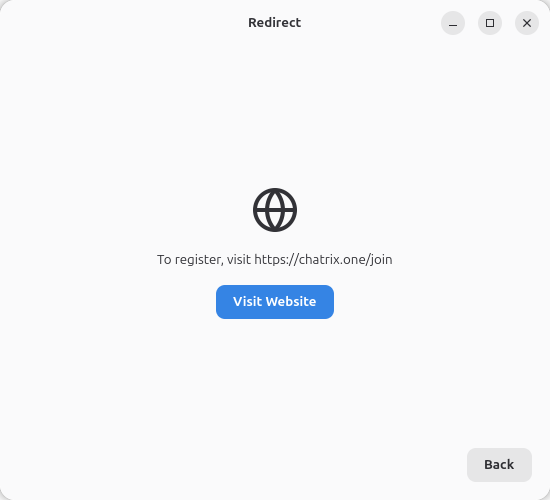
Registration is done in the browser. Now head back to Gajim to sign in.
Part B — Signing in to Gajim
Step 11 — Enter your XMPP address
In the Add Account window, type your full XMPP address in the top field. It looks just like an email address: yourname@chatrix.one.
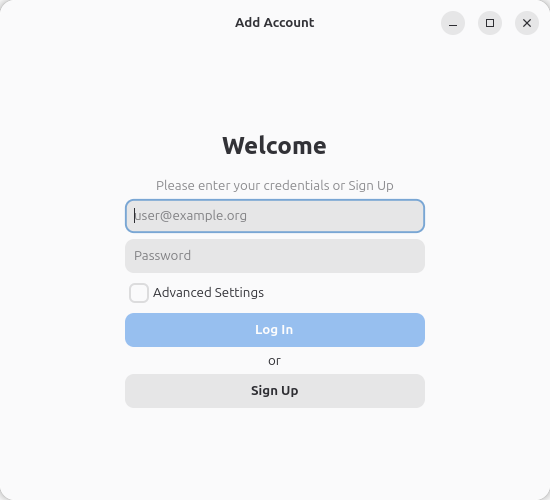
Your full address including the server part. Don’t forget the @chatrix.one.
Step 12 — Enter your password
Type your password in the second field and click Log In.
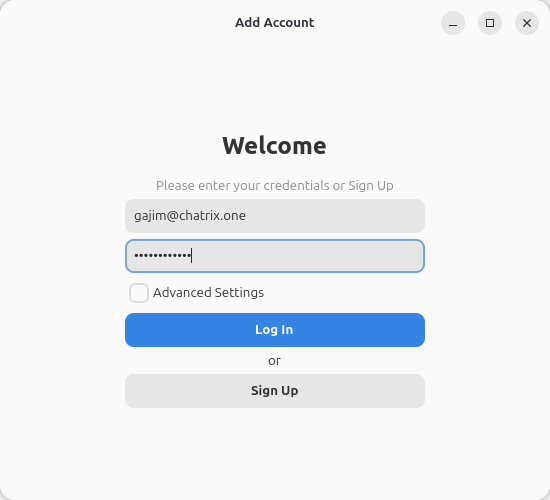
This is the password you just created on the website.
Step 13 — Account added
If the credentials are correct, Gajim shows a success screen saying Account has been added successfully. You can give it a display name and a color here, or just click Connect.
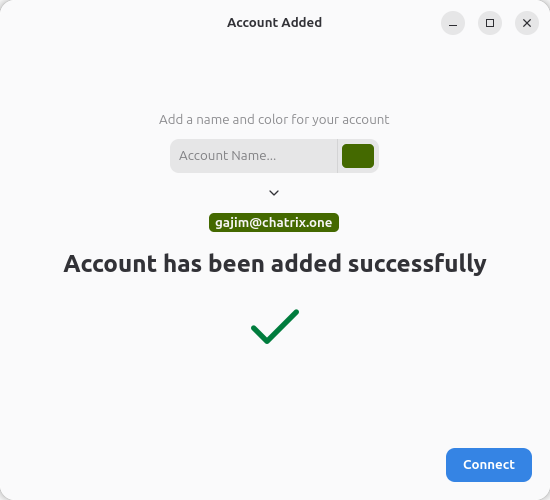
Optional: give your account a name and a color to tell it apart if you ever add more accounts.
Step 14 — Welcome message from the server
Once connected, you’ll probably have one message waiting from the server. Click on it to open it. It has useful links like the FAQ, terms of service, and the admin contact.
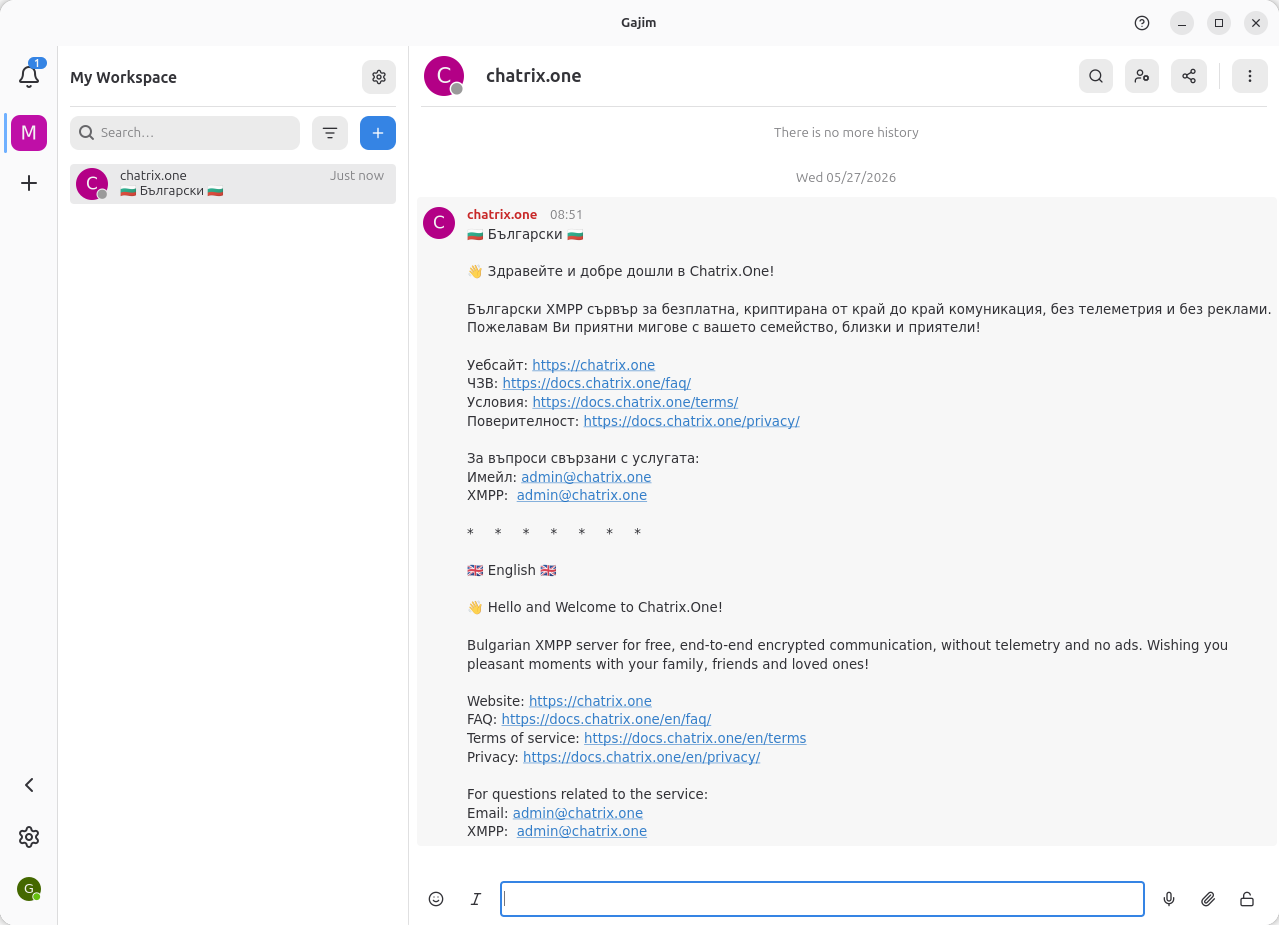
The server sends a welcome message with handy info. Worth a read.
Step 15 — Settings
Click the cog icon in the lower-left corner to open Preferences. This is where you control window behaviour, notifications, style, audio, shortcuts, and plugins.
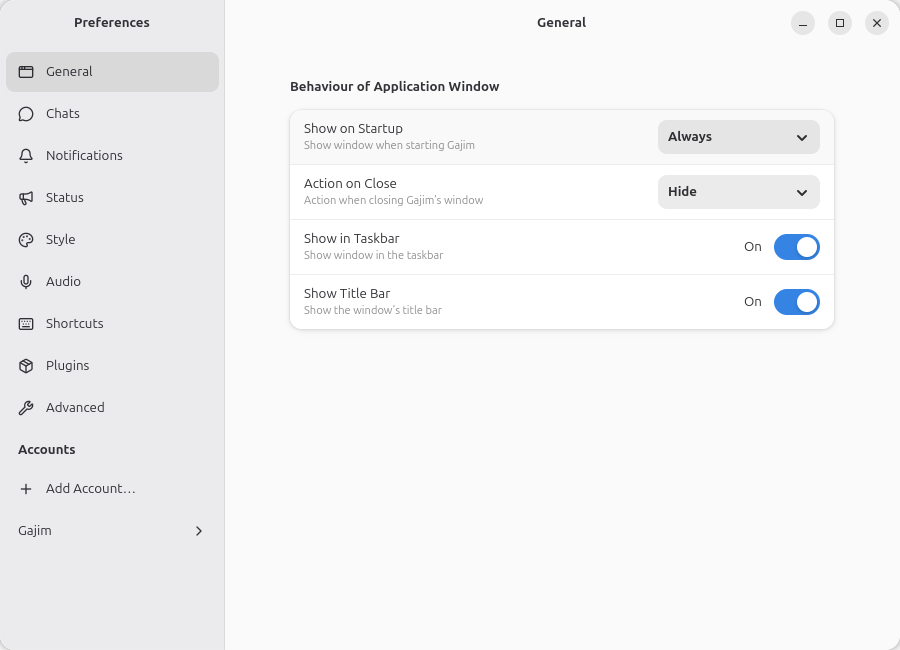
Plenty of options here. Most of the defaults are fine to start with.
Your account settings sit just below the general ones in the same sidebar, under Accounts.
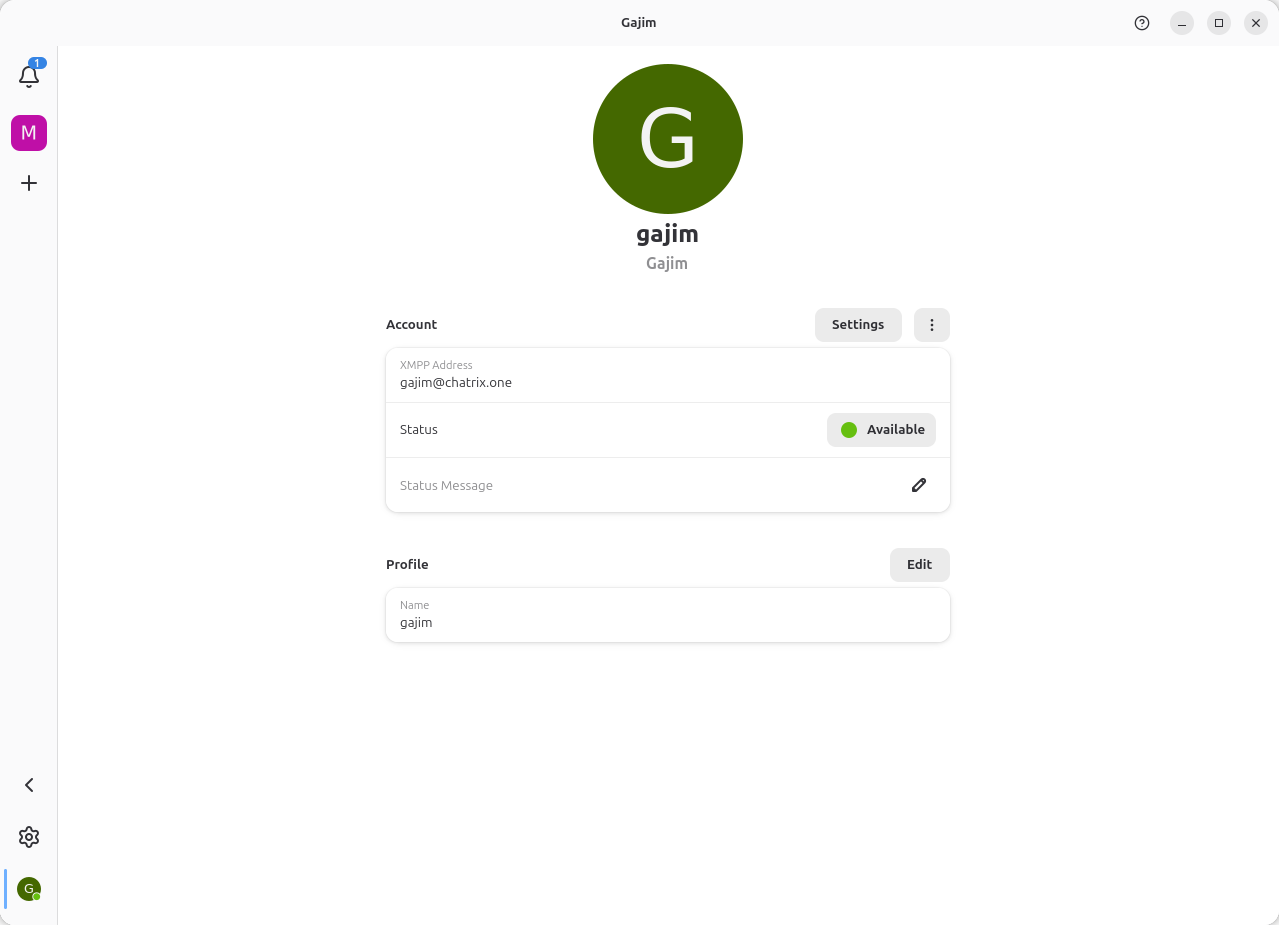
Here you can set your display name, status message, and profile picture.
Step 16 — Start a conversation
To chat with someone, click the + button at the top of the chat list. Choose Add Contact to add someone by their XMPP address, or Join Group Chat to join a group.
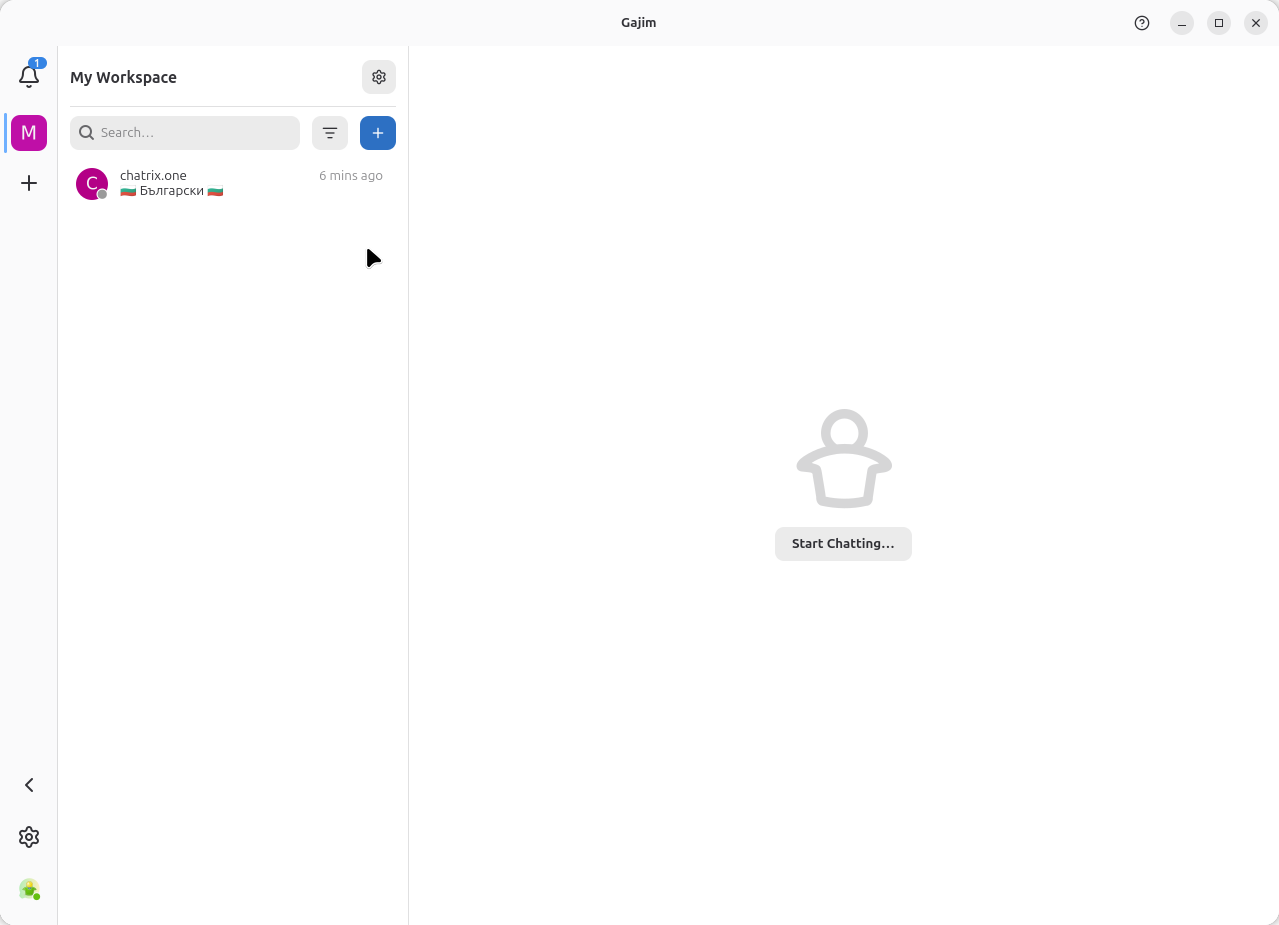
The + button is your starting point for new conversations and group chats.
Type their XMPP address and click Next.
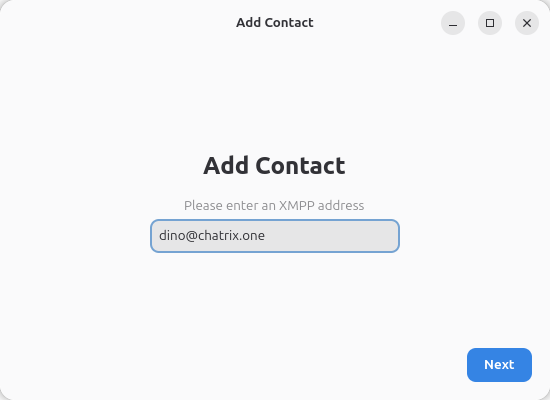
Enter the full JID of the person you want to add.
You can add a short greeting message, put them in a group, and choose whether to share your online status. Click Add Contact when done.
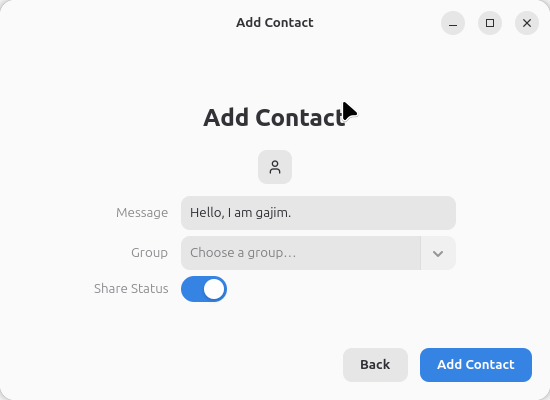
The greeting message goes out along with the contact request.
Once they accept, their name shows up in the list and you’re ready to go.
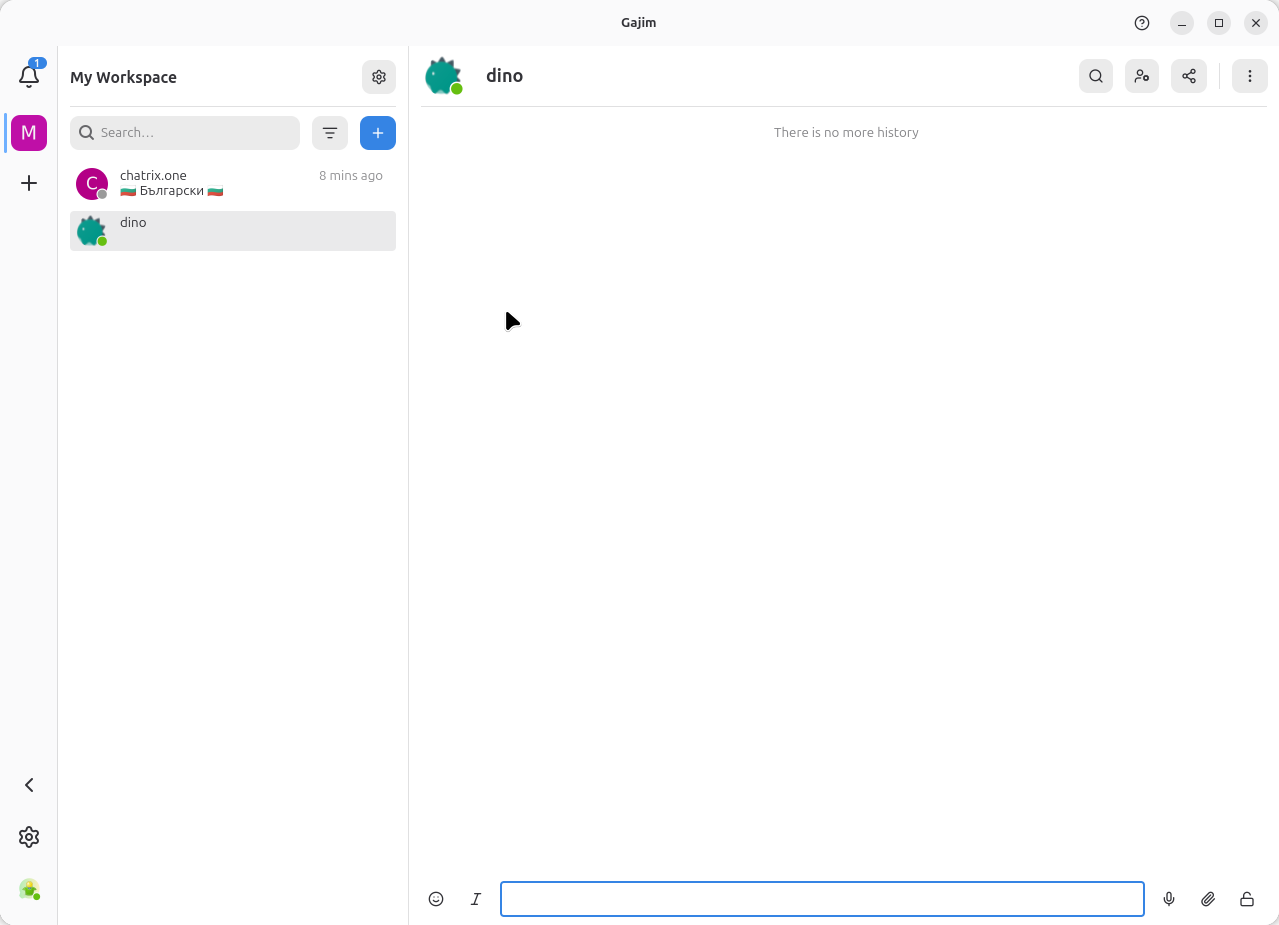
Contact is there. Click on them to open the chat.
Step 17 — Chat away
Messages, images, emoji, files, voice messages, everything works out of the box. You’ll see a small shield icon next to messages when OMEMO encryption is active.
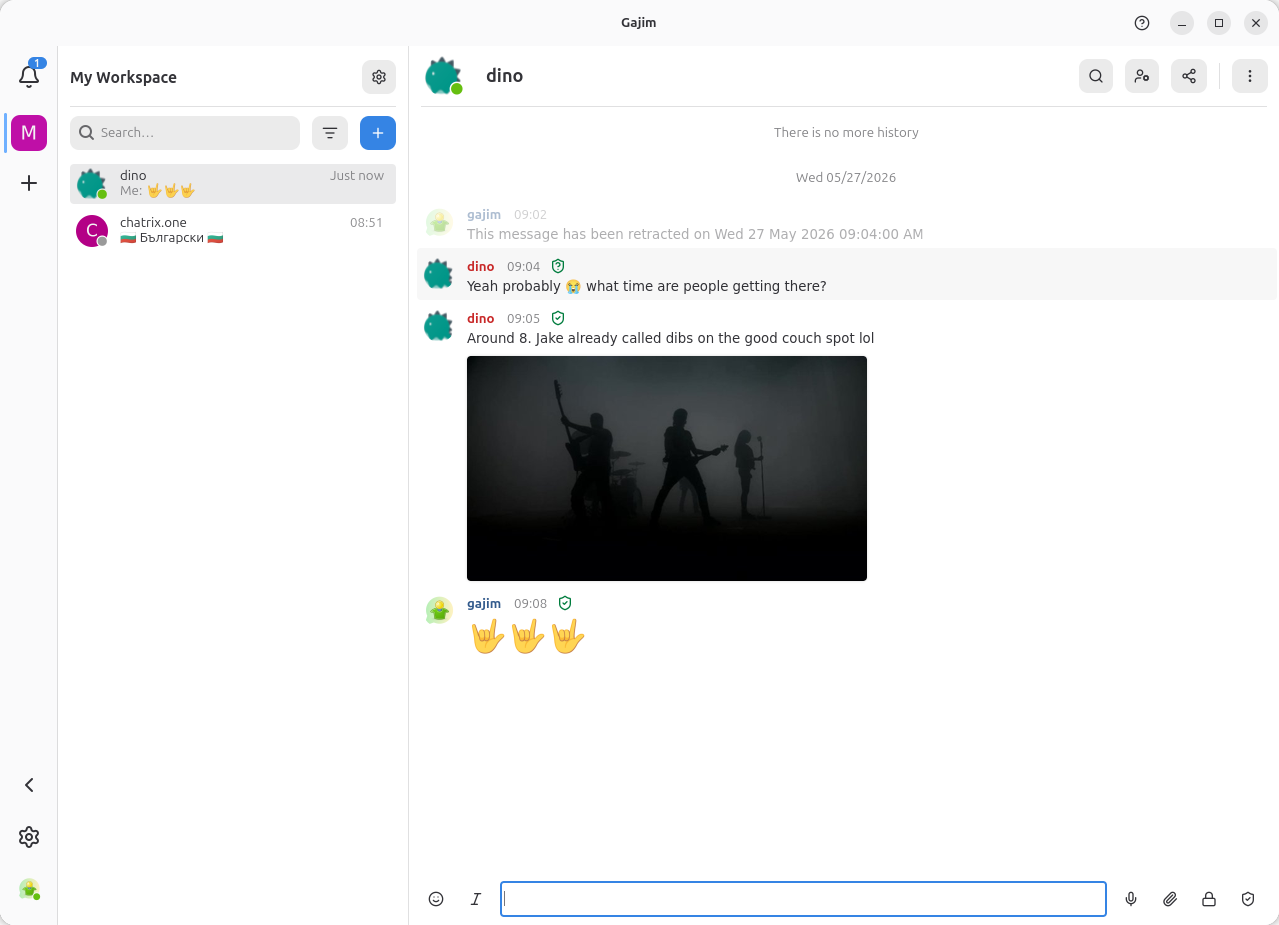
Clean, fast, private. Enjoy.
That’s all
You now have a working XMPP setup with a free account on Chatrix.one and Gajim running on your machine. Your messages are encrypted and no company owns the network you’re on.
If you want to find more public servers, our documentation site docs.chatrix.one has some for you. And if your friends are on other XMPP servers, you can still message them, that’s the whole point of a federated network.