So you’ve heard about XMPP and want to give it a try. Good call. It’s open, decentralized, and no one owns your messages. This guide walks you through the whole thing from zero: installing Dino, creating a free account, and sending your first message. No command line needed.
Step 1 - Open your Software Center
Open the Software Center (also called Software Manager depending on your distro).
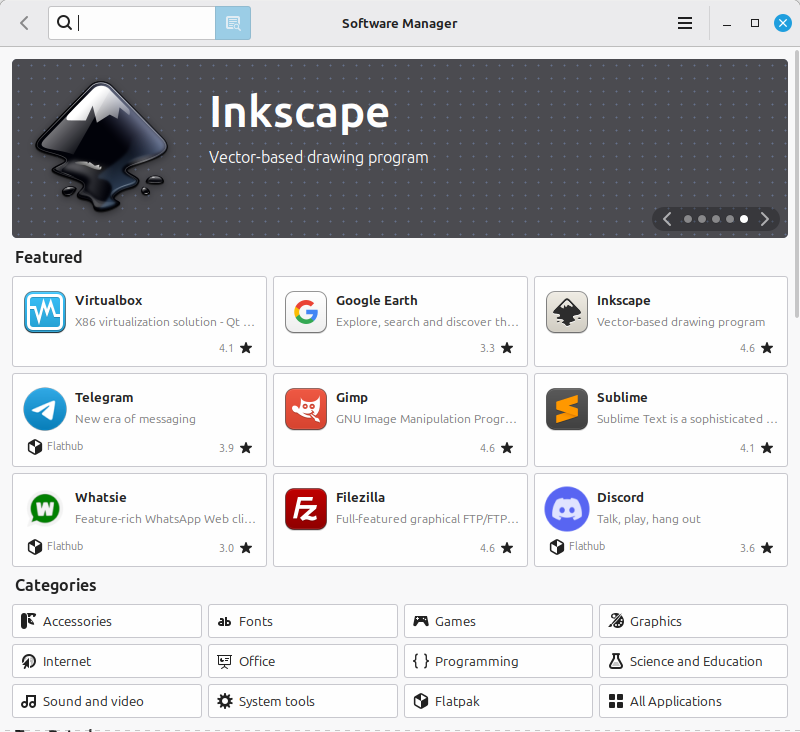
The Software Manager on Linux Mint. Other distros look a bit different but work the same way.
Step 2 - Search for Dino
Type dino in the search box. Two results will probably show up: dino-im and Dino. You want Dino, the one with the little dinosaur icon and the Flathub badge.
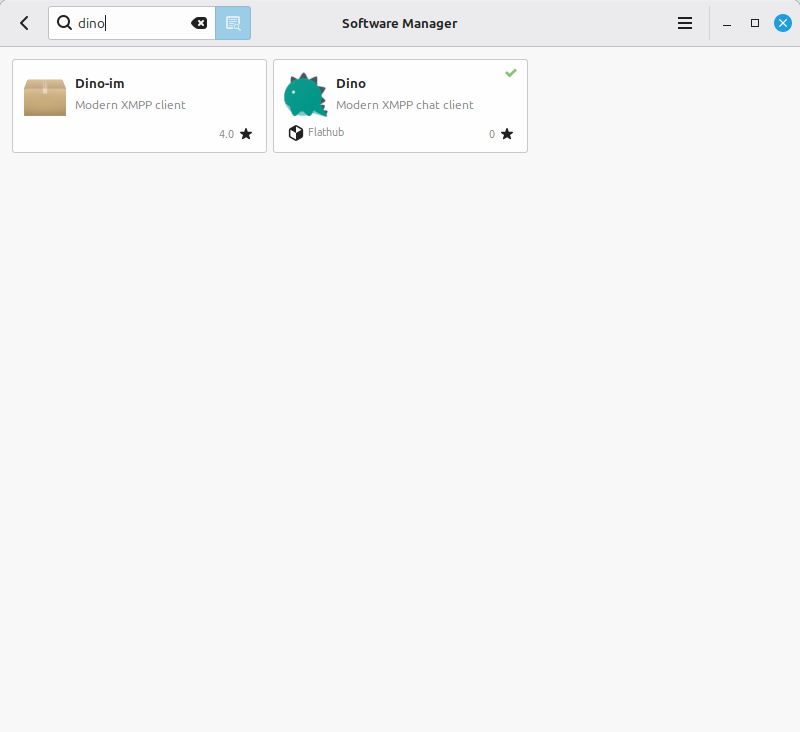
Pick the one from Flathub. It tends to be a newer version than the system package.
Step 3 - Install and launch it
Click on Dino to open its page, then hit Install. Once it finishes, click Launch (or Open, same thing).
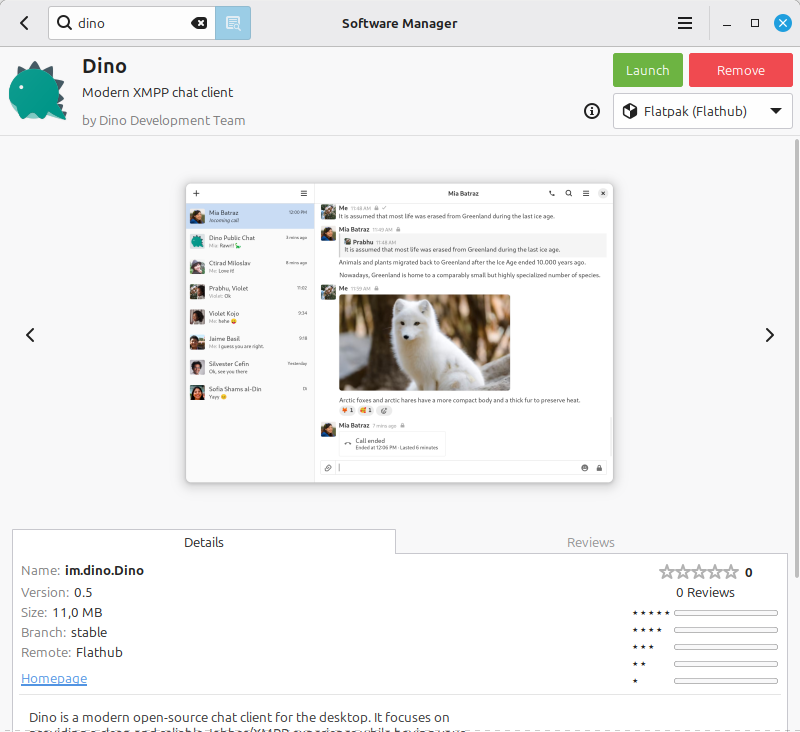
The Flathub version is usually more up to date than what ships with your distro.
Step 4 - Welcome screen
Dino opens to a clean welcome screen. Click Set up account to get started.
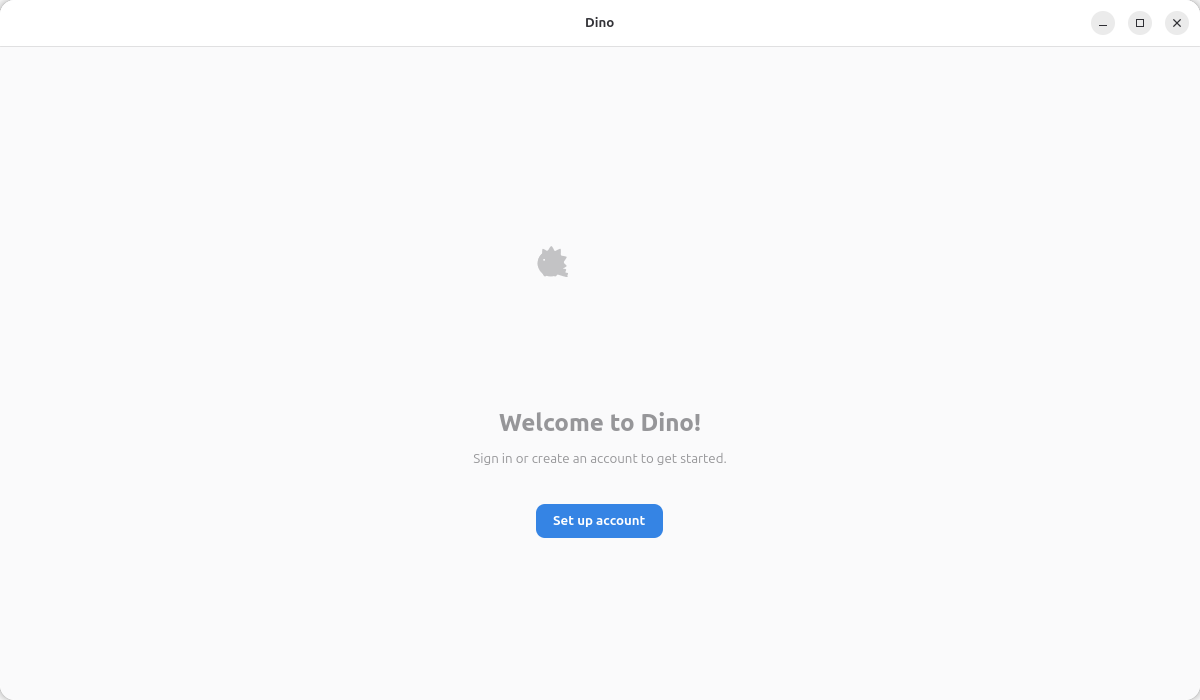
Nothing to do here except press that button.
Part A - Creating a new account
If you already have an XMPP account, skip ahead to Part B. If not, follow along here.
Step 5.1 - Click “Create account”
A sign-in window pops up. Since you don’t have an account yet, click Create account at the bottom.
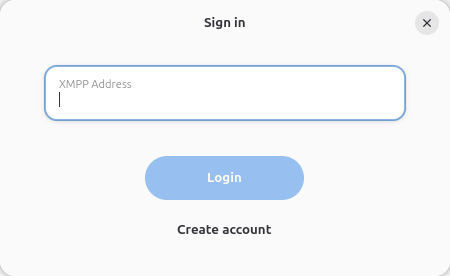
Create account is right there at the bottom.
Step 5.2 - Choose a server
You need to pick an XMPP server. Think of it like picking an email provider. It doesn’t matter much which one you choose, you can still talk to everyone. For this guide we’ll use chatrix.one, a free Bulgarian server with no ads and end-to-end encryption. Type chatrix.one in the field at the bottom and click Next.
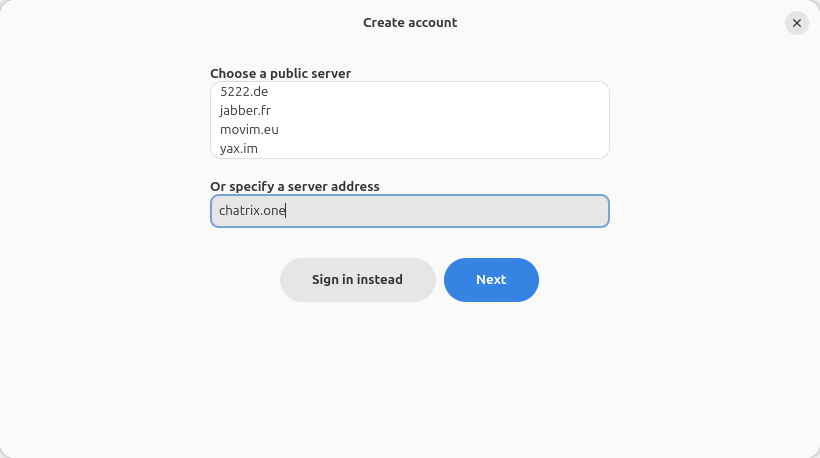
You can use any public server you like. chatrix.one is a solid free option.
Step 5.3 - Open the registration website
Chatrix.one handles registration through its website. Click Open website and your browser will open.
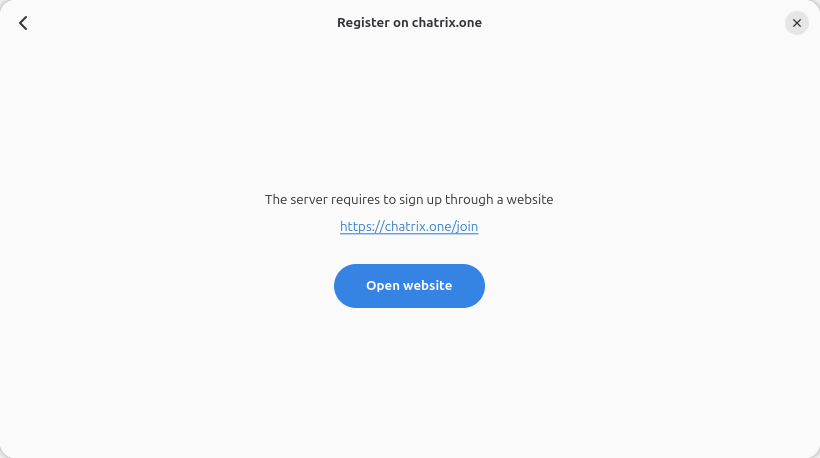
Some servers register directly in Dino. Others, like this one, use a webpage.
Step 5.4 - Prove you’re human
The website asks you to complete a quick hCaptcha challenge. Read through the short terms of service, tick the box, and click Continue.
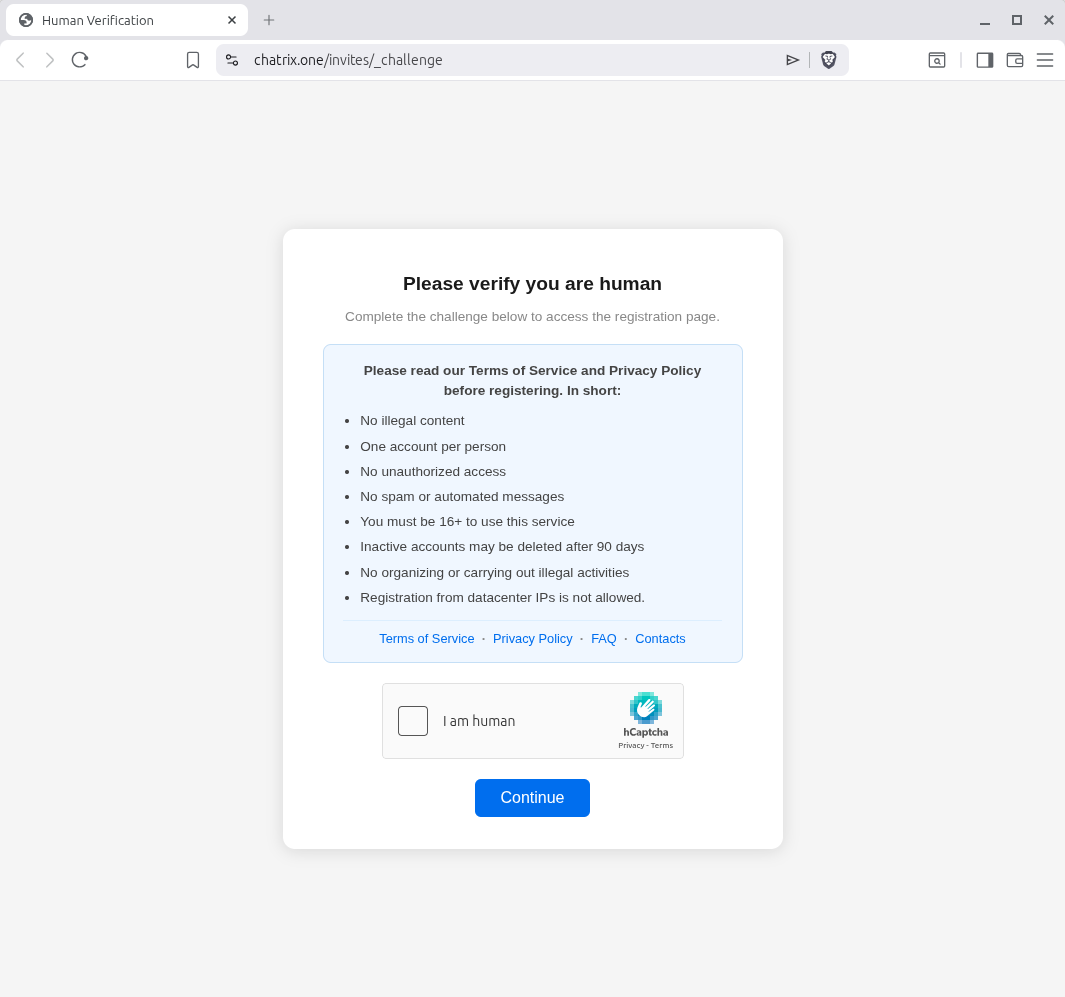
Standard stuff. Tick the box and carry on.
Step 5.5 - Select Dino as your client
The next page shows you a couple of app options. Click Select under Dino.
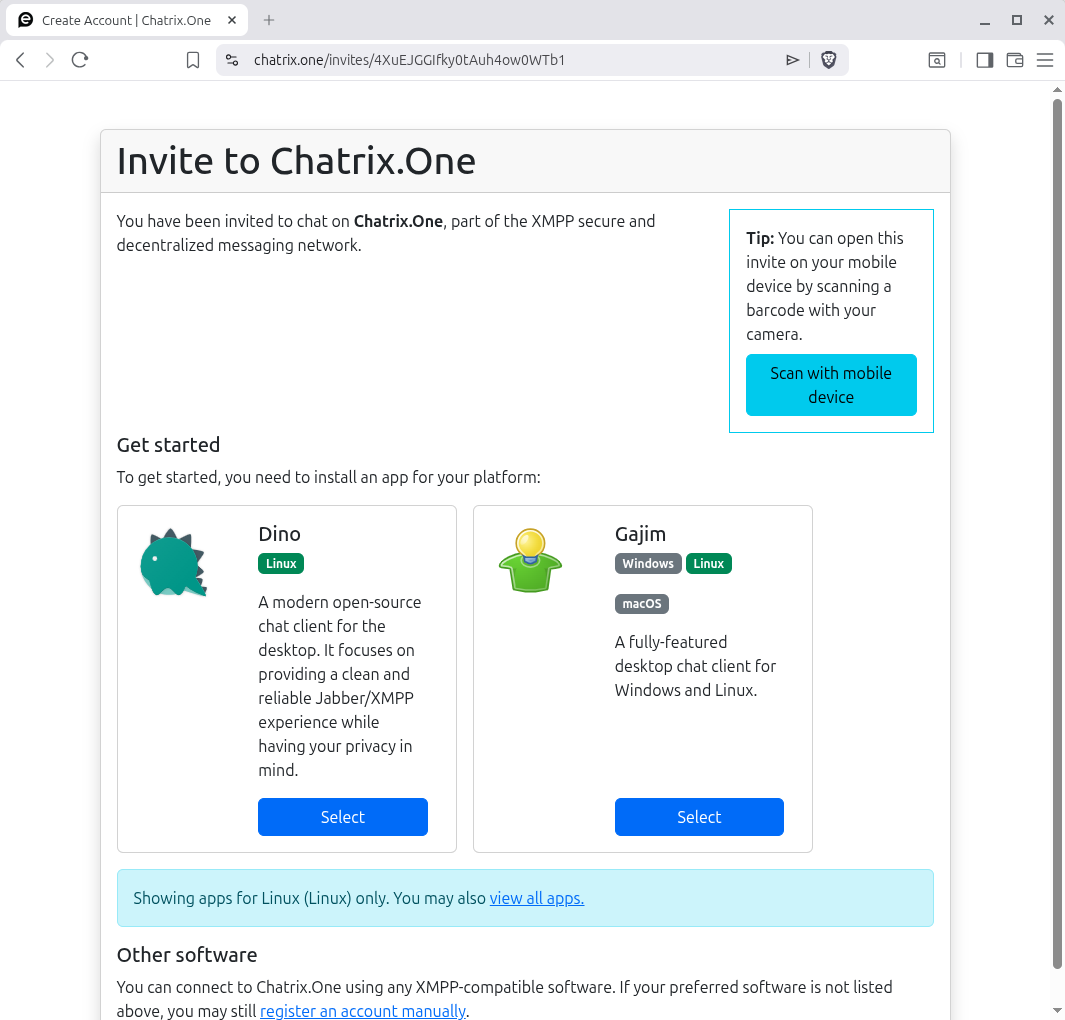
Since you’re using Dino, click Select under it.
Step 5.6 - Pick a username and a strong password
Now fill in the registration form. Your username becomes the first part of your XMPP address, so yourname@chatrix.one. Use a password you don’t use anywhere else, then click Submit.
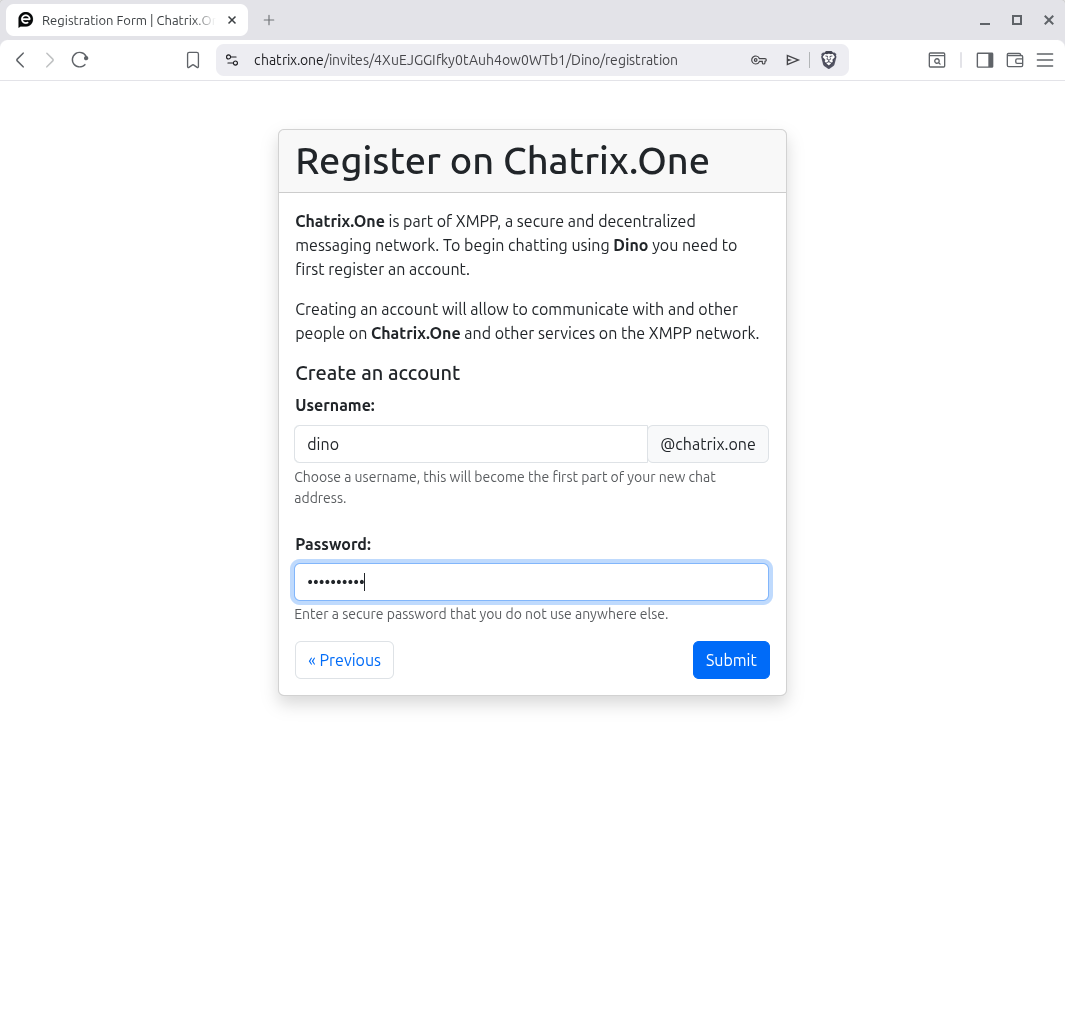
Your full XMPP address will be username@chatrix.one. Write down your password somewhere safe.
Step 5.7 - Registration success
If everything went fine, you’ll see a congratulations page with your new address and a reminder that your password is only shown here once. Keep it safe.
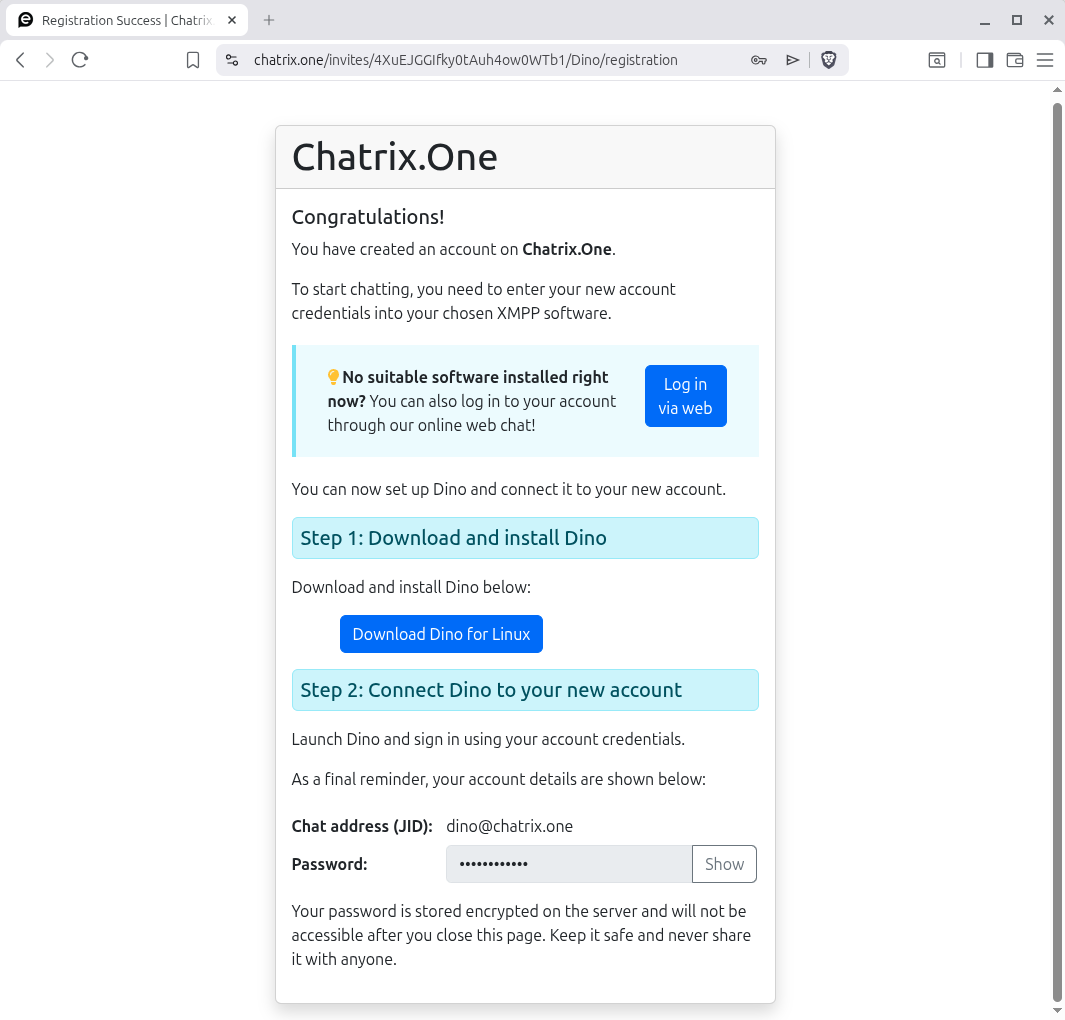
Your account is created. Note down the JID and password before closing this tab.
Part B - Signing in to Dino
Now head back to Dino.
Step 6 - Enter your XMPP address
In the sign-in window, type your full XMPP address (called a JID). It looks just like an email address: yourname@chatrix.one. Then click Login.
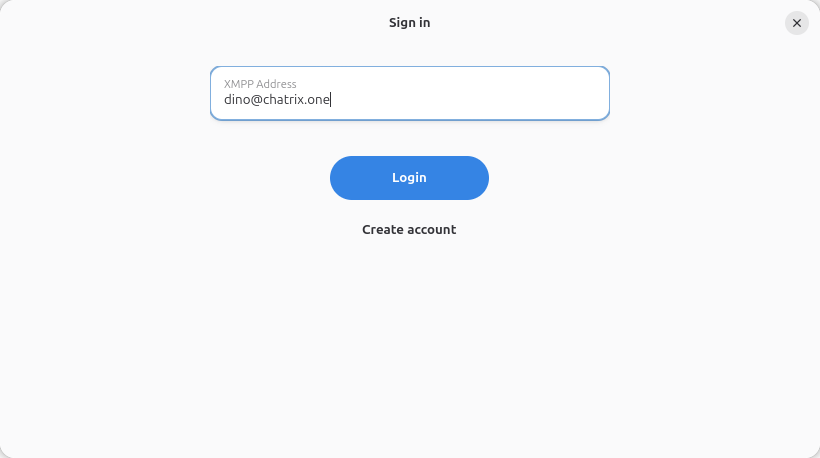
Your JID is your full address including the server part. Don’t forget the @chatrix.one.
Step 7 - Enter your password
Dino will ask for your password next. Type it in and click Login again.
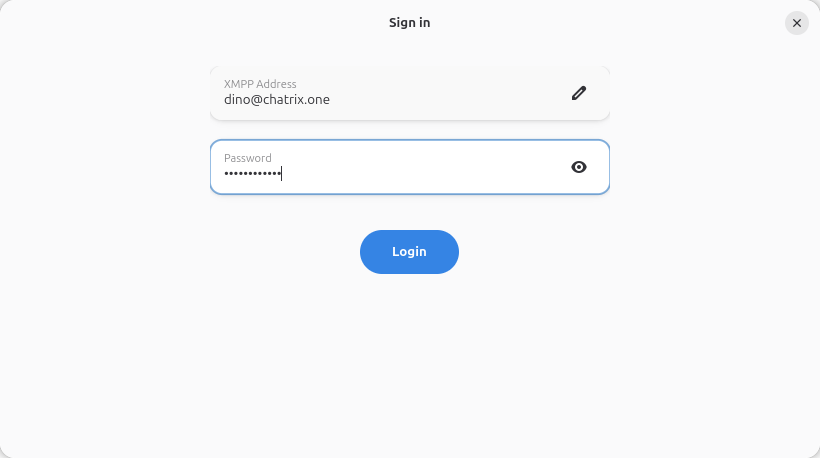
This is the password you just created on the website.
Step 8 - You’re in
If the credentials are correct, Dino shows a little party popper and says All set up!. Click Finish.
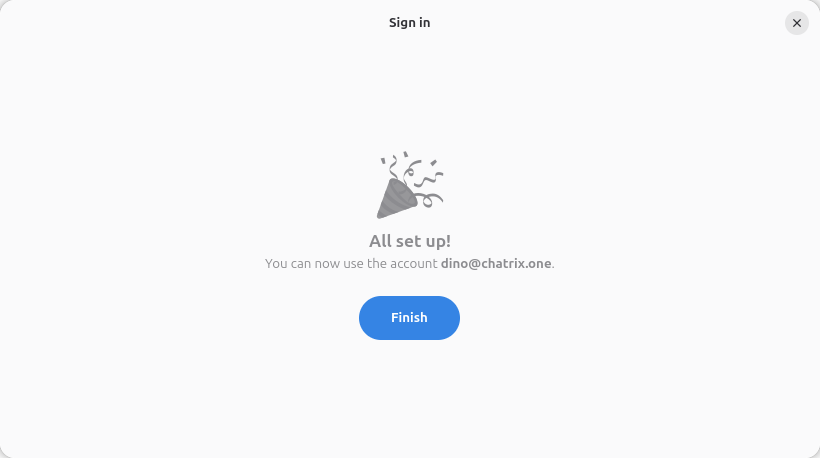
That’s the good screen. Click Finish and you’re in.
Step 9 - Welcome message from the server
If you just created a new account, you’ll probably have one message waiting from the server. Click on it to open it. It usually has useful links like the FAQ, terms of service, and contact for the admin.
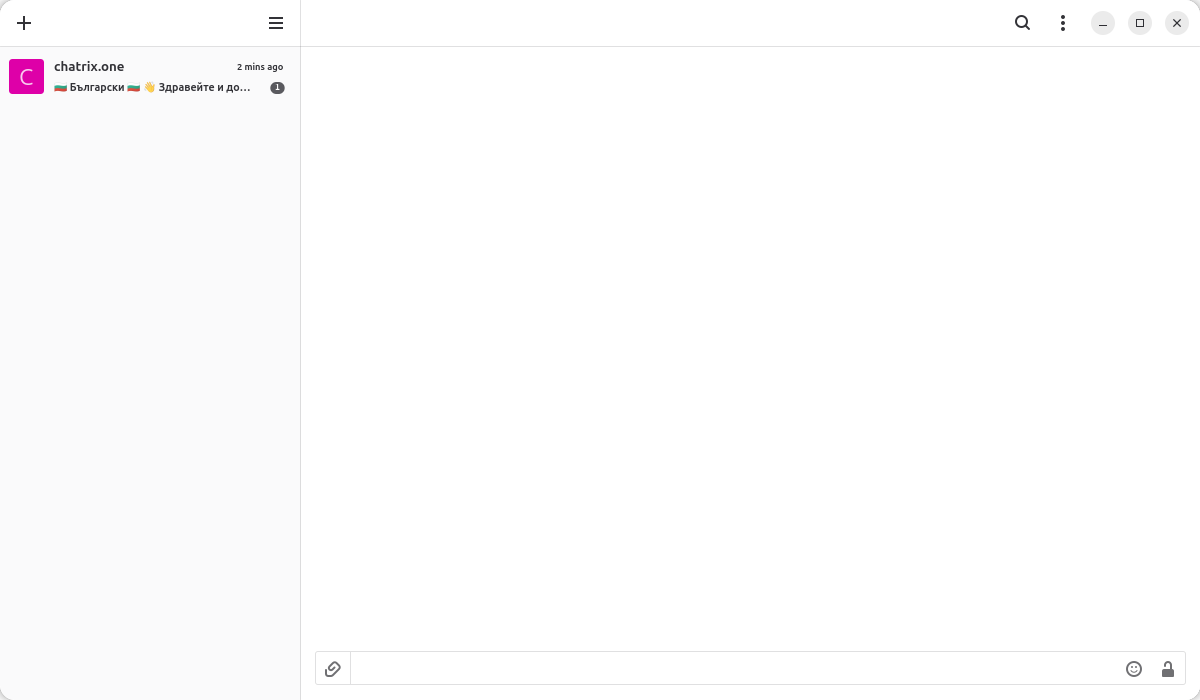
The server sends a welcome message with handy info. Worth reading.
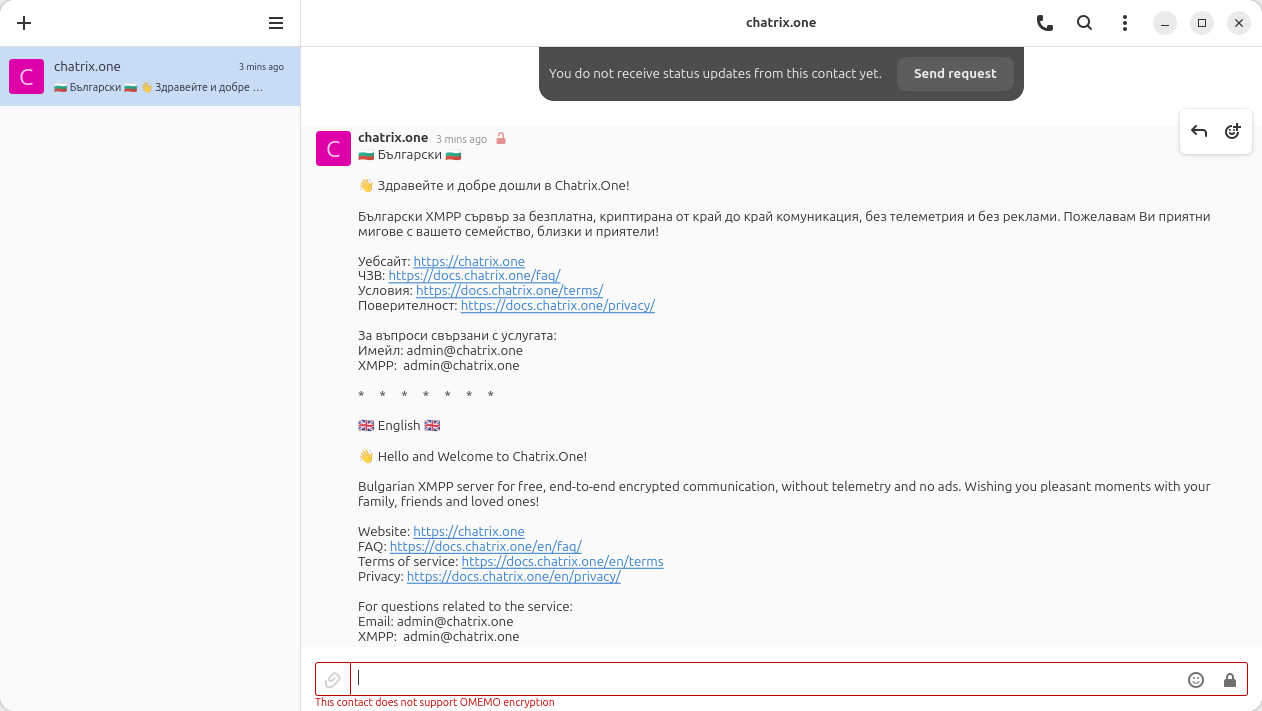
FAQ, privacy policy, and an admin contact are all in there.
Step 10 - Settings and preferences
Click the hamburger menu (the three lines in the top bar) and choose Preferences to open the settings.
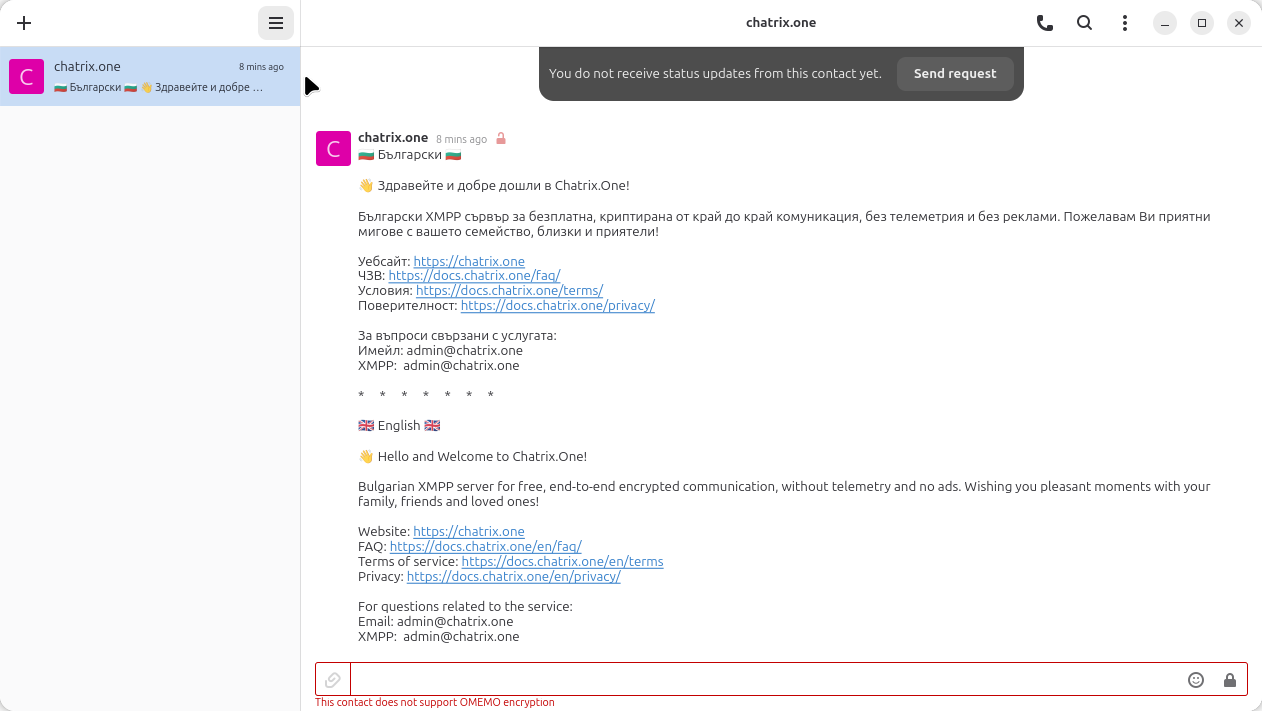
Preferences has three tabs:
Accounts - manage your account, change your avatar, enable or disable the account, or remove it entirely.
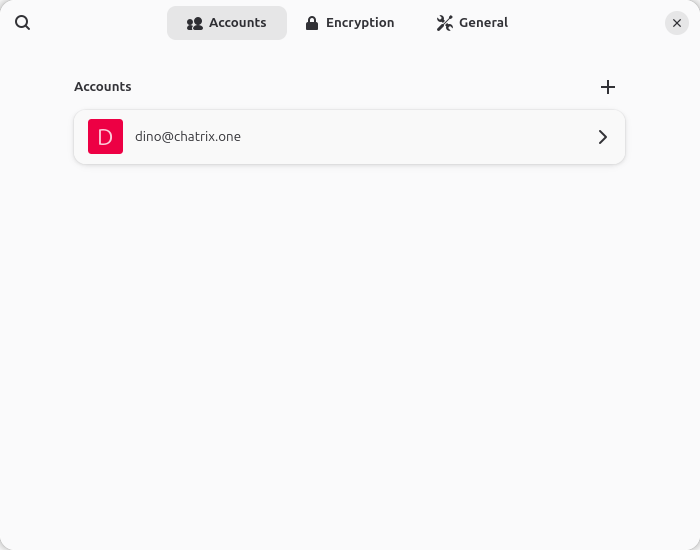
You can add multiple accounts here if you need to.
Click your account to see more options including avatar and account removal.
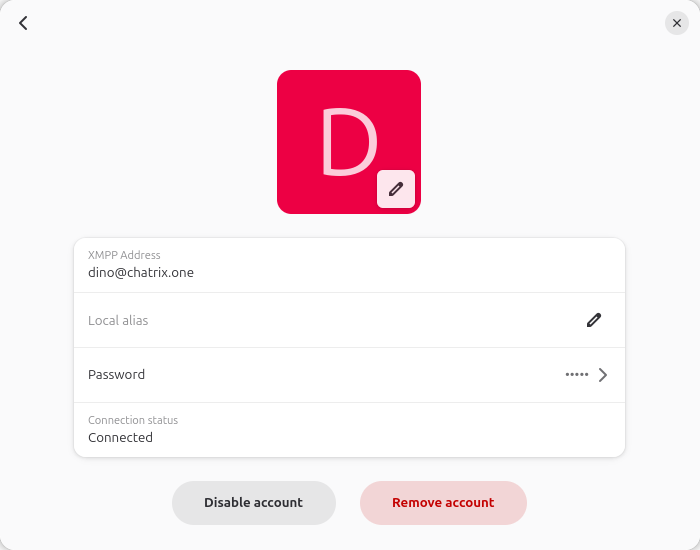
Disable pauses the account. Remove deletes it from Dino entirely.
Encryption - shows your OMEMO key and lets you toggle encryption defaults. It’s on by default, which is exactly what you want.
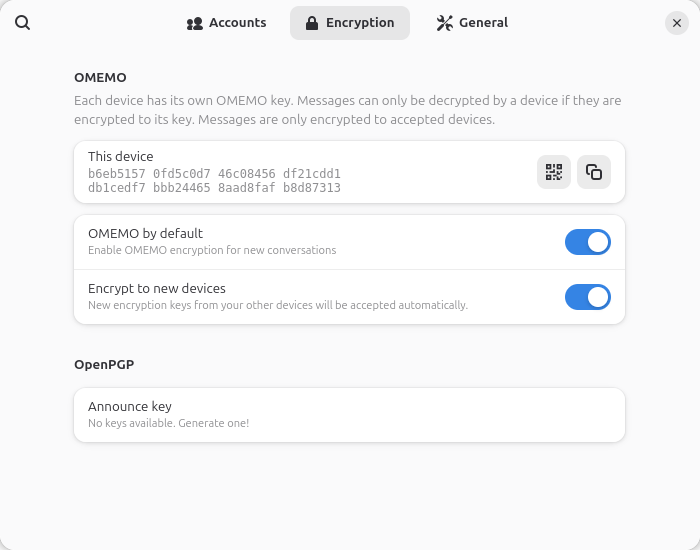
OMEMO is end-to-end encryption. Leave it on.
General - typing notifications, read receipts, desktop notifications, and emoji conversion.
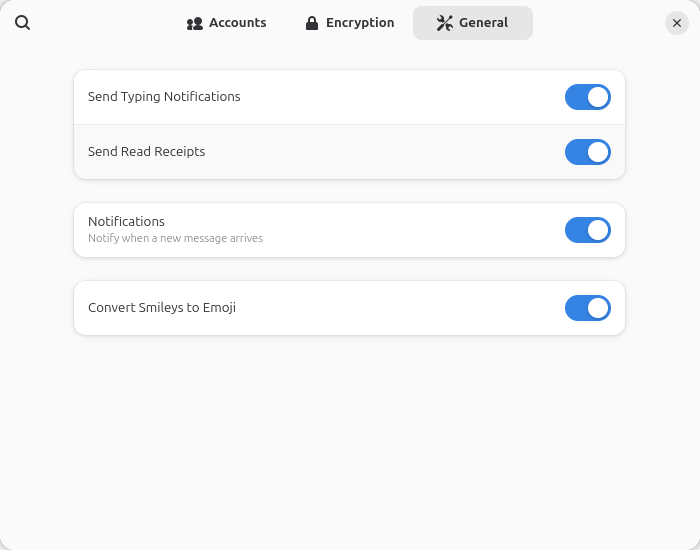
Turn off typing notifications if you don’t want people to know when you’re writing.
Step 11 - Keyboard shortcuts
Dino has a clean set of shortcuts that make navigation faster. You can find them in the menu.
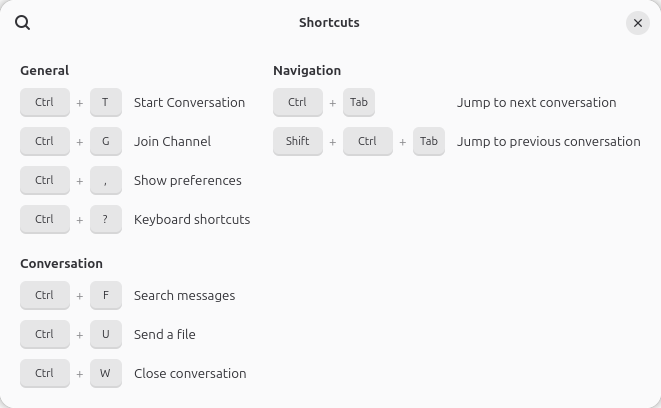
Ctrl+T starts a new conversation. Ctrl+G joins a group chat. Ctrl+, opens preferences.
Step 12 - Start a conversation
To chat with someone, click the + button in the top-left corner. Type their XMPP address (JID) and click Start. You can also join a group chat (called a MUC) the same way, just enter the group address instead.
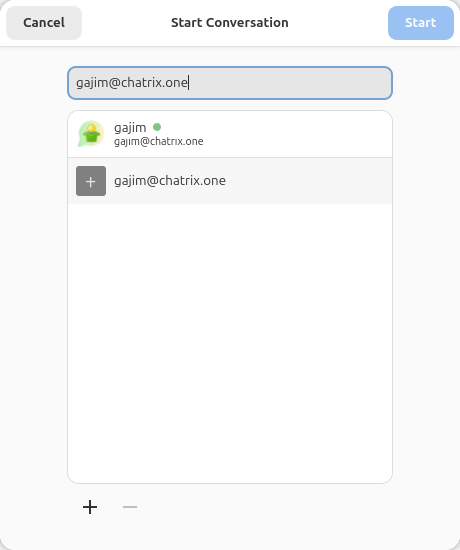
Enter someone’s JID and hit Start. It works for both direct messages and group chats.
Step 13 - Chat away
That’s it. Messages, images, emoji, everything works as you’d expect. Messages are encrypted end-to-end by default with OMEMO, and you’ll see a small lock icon to confirm it.
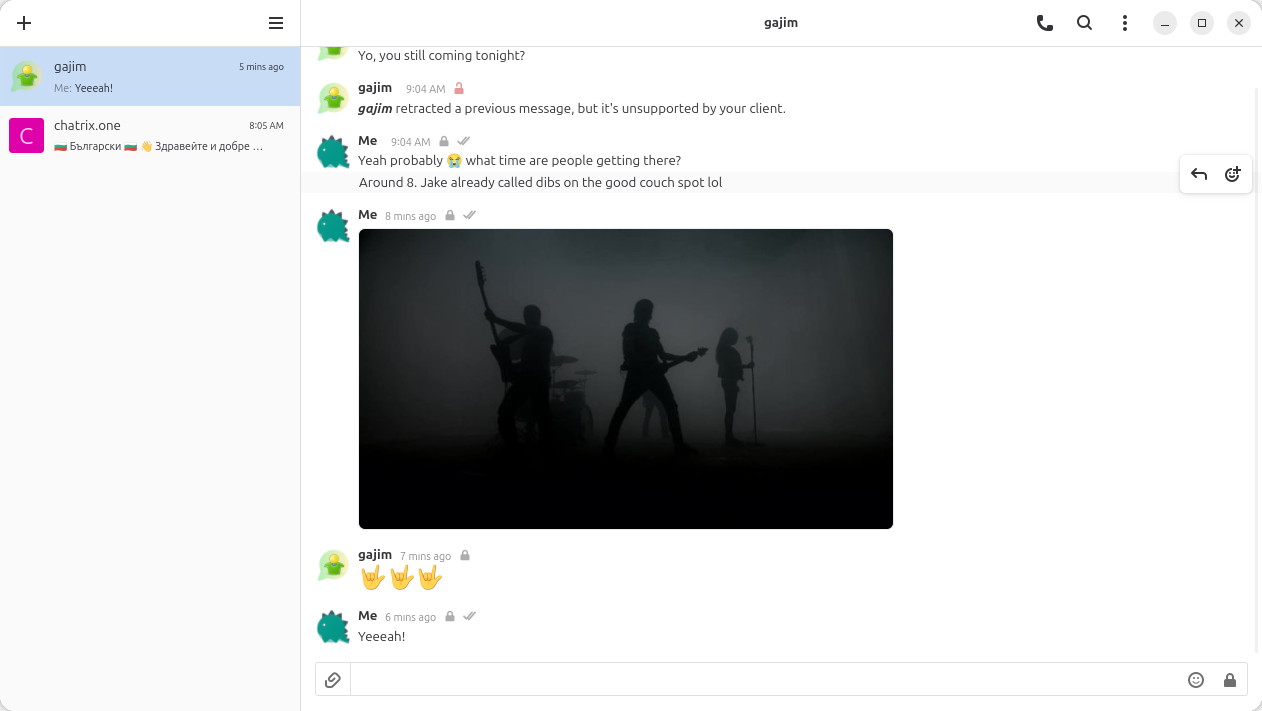
Clean, fast, private. Enjoy.
That’s all
You now have a working XMPP setup with a free account on Chatrix.one and Dino installed on your Linux machine. Your messages are encrypted and no company owns the network you’re on.
If you want to find more public servers, our documentation site docs.chatrix.one has some for you. And if your friends are on other XMPP servers, you can still message them, that’s the whole point of a federated network.